

Issue
- Revoke a certificate in ESET Security Management Center (ESMC)
- You are using an Agent certificate signed by a third-party Certification Authority and you need to revoke the certificate
- Agent certificates signed by a third-party Certification Authority cannot be revoked directly from the ESET Security Managment Center (ESMC) Web Console.
Solution
The following abbreviations are used in this Knowledgebase Article:
- CA1 - A third-party Certification Authority (public key) used for signing the Agent certificate AC1
- CA2 - The built-in ESMC Certification Authority (public key)
- CA3 - A third-party Certification Authority used for initial setup of ESMC (optional)
- AC1 - Agent Certificate signed by CA1
Initial setup—already completed. Proceed to the revoke the custom agent certificate section for the solution to this issue.
Connect ESET Management Agent to ESET Security Management Center (ESMC) Server on Windows using an Agent certificate signed by a third-party Certification Authority
- Prepare a custom Agent certificate (AC1) and CA public key (CA1) that signed this certificate.
- Install ESMC Server and Webconsole on Windows Server - either with the built-in certificates and CA2, or using a custom Server certificate and CA3.
- To import CA1 into ESMC, click More → Certification Authorities → Actions → Import Public Key.
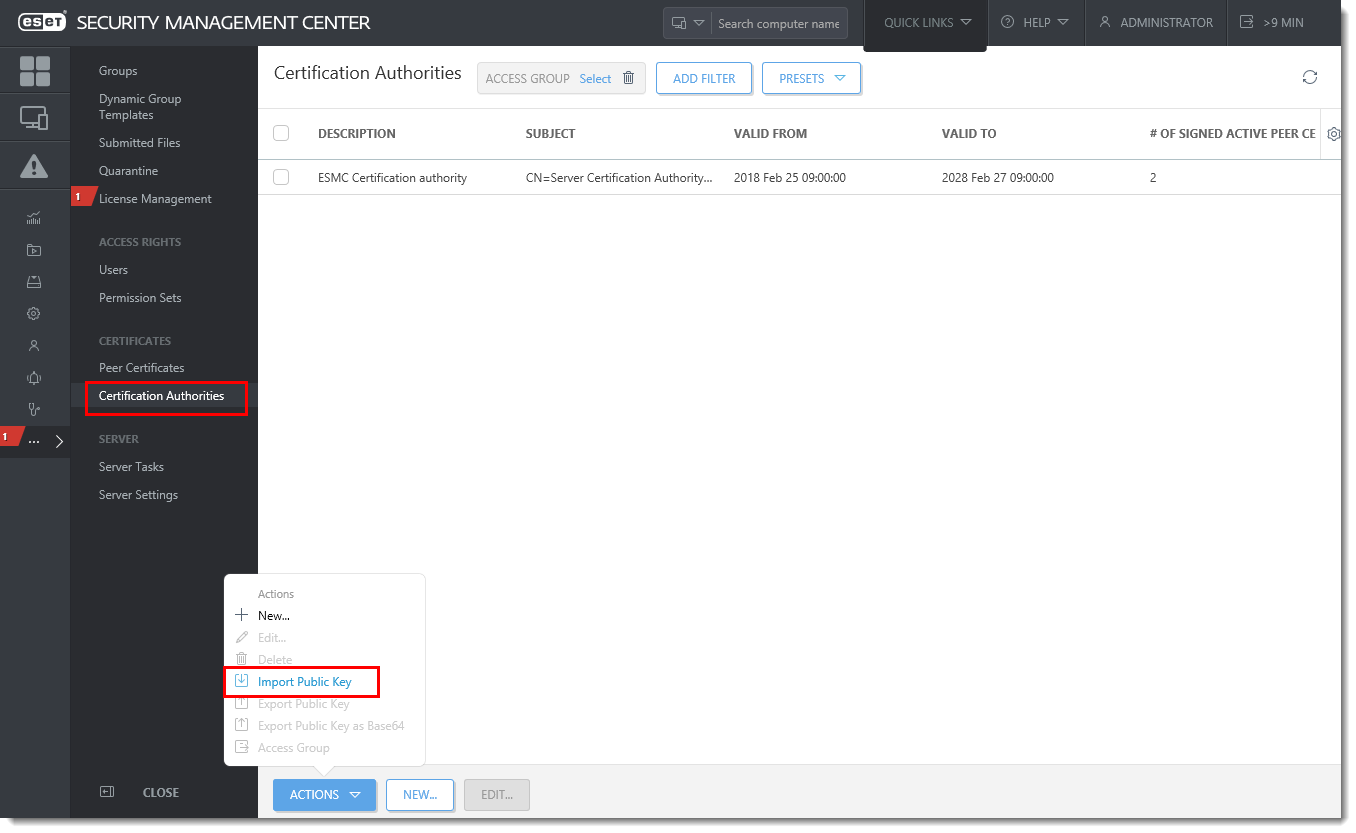
Figure 1-1
Click the image to view larger in new window
- To export CA2 to a file, click More → Certification Authorities. Select the CA2, click Actions → Export Public Key.
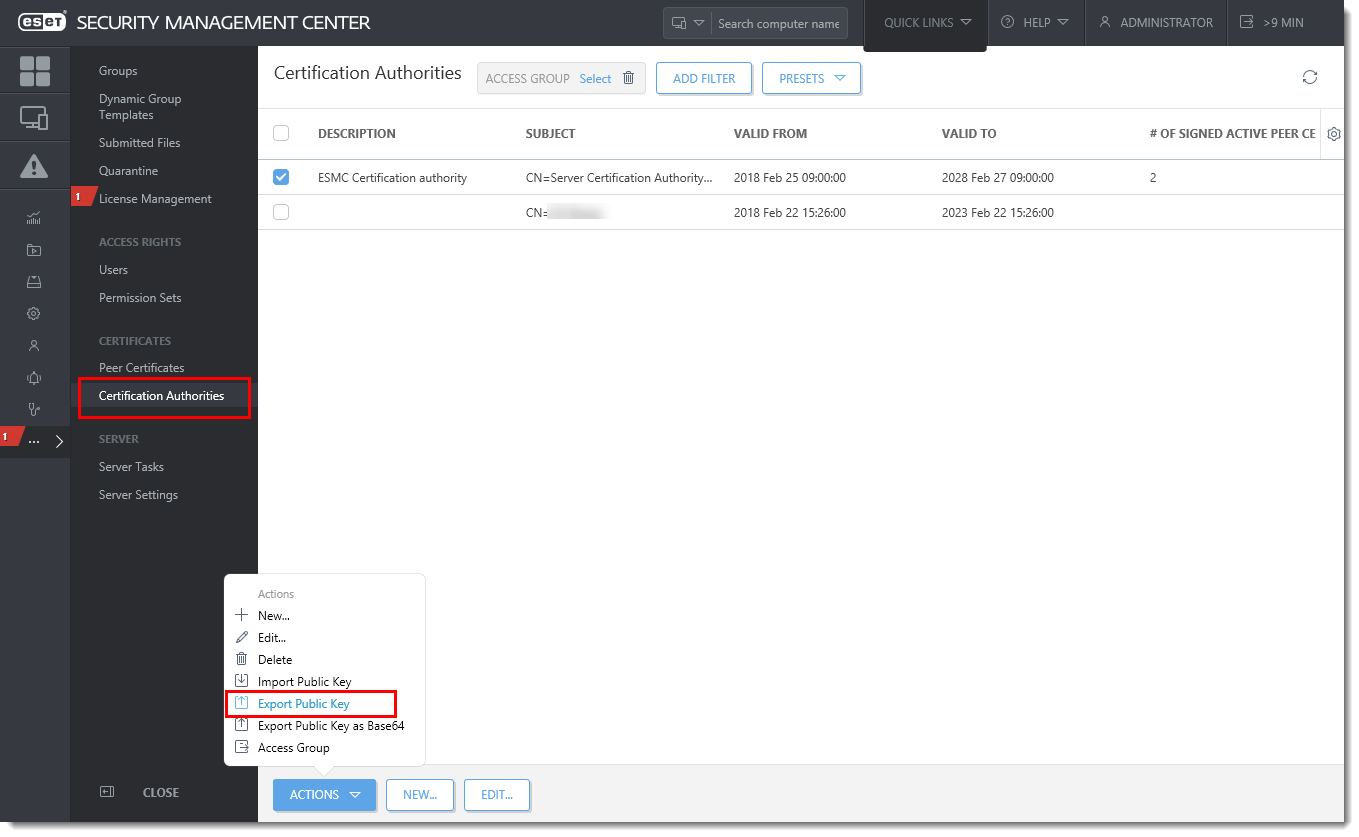
Figure 1-2
Click the image to view larger in new window
- On a Windows client computer, install the ESET Management Agent.
- Select Offline installation.
- Use the CA2 Certification Authority.
- Use the AC1 Agent Certificate (signed by CA1).
- Make sure that Agent correctly connects to ESMC Server - the client computer appears in the ESMC Web Console.
- To revoke the AC1 Agent certificate, proceed to the revoke the custom agent certificate section for the solution to this issue.
Revoke the custom Agent certificate (AC1)
To revoke the Agent certificate AC1, you need to use third-party software (for example the open-source xca) to create a certificate revocation list.
- Import the CA1 and custom Agent certificate and revoke the certificate.
- Add the custom Agent certificate into a certificate revocation list and export the list as a .crl file.
Import the certificate revocation list to ESMC Server
- On the ESMC Server computer, open Local Computer Certificate store:
Click Start → run mmc → File → Add/Remove Snap-in.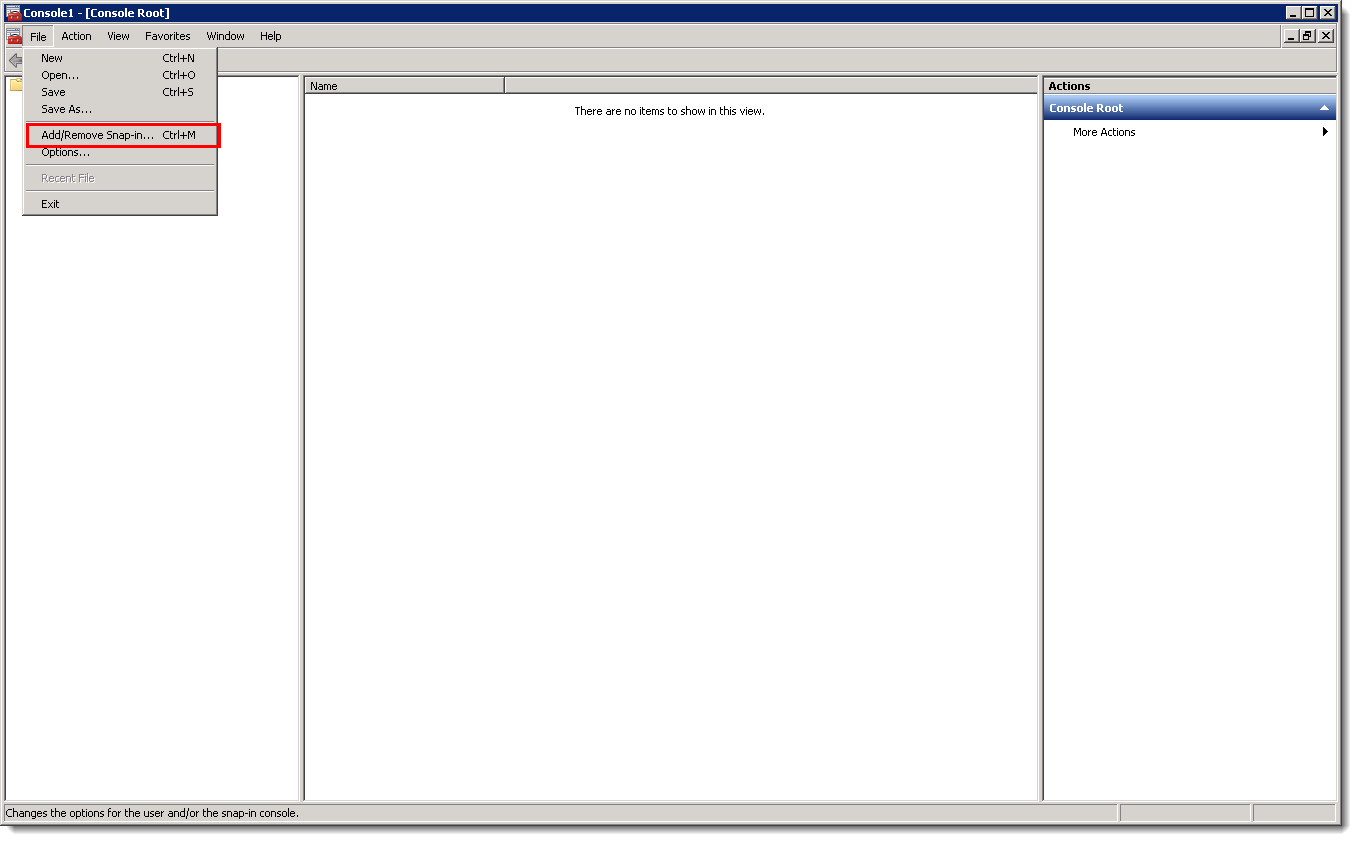
Figure 2-1
Click the image to view larger in new window
- Select Certificates and click Add.
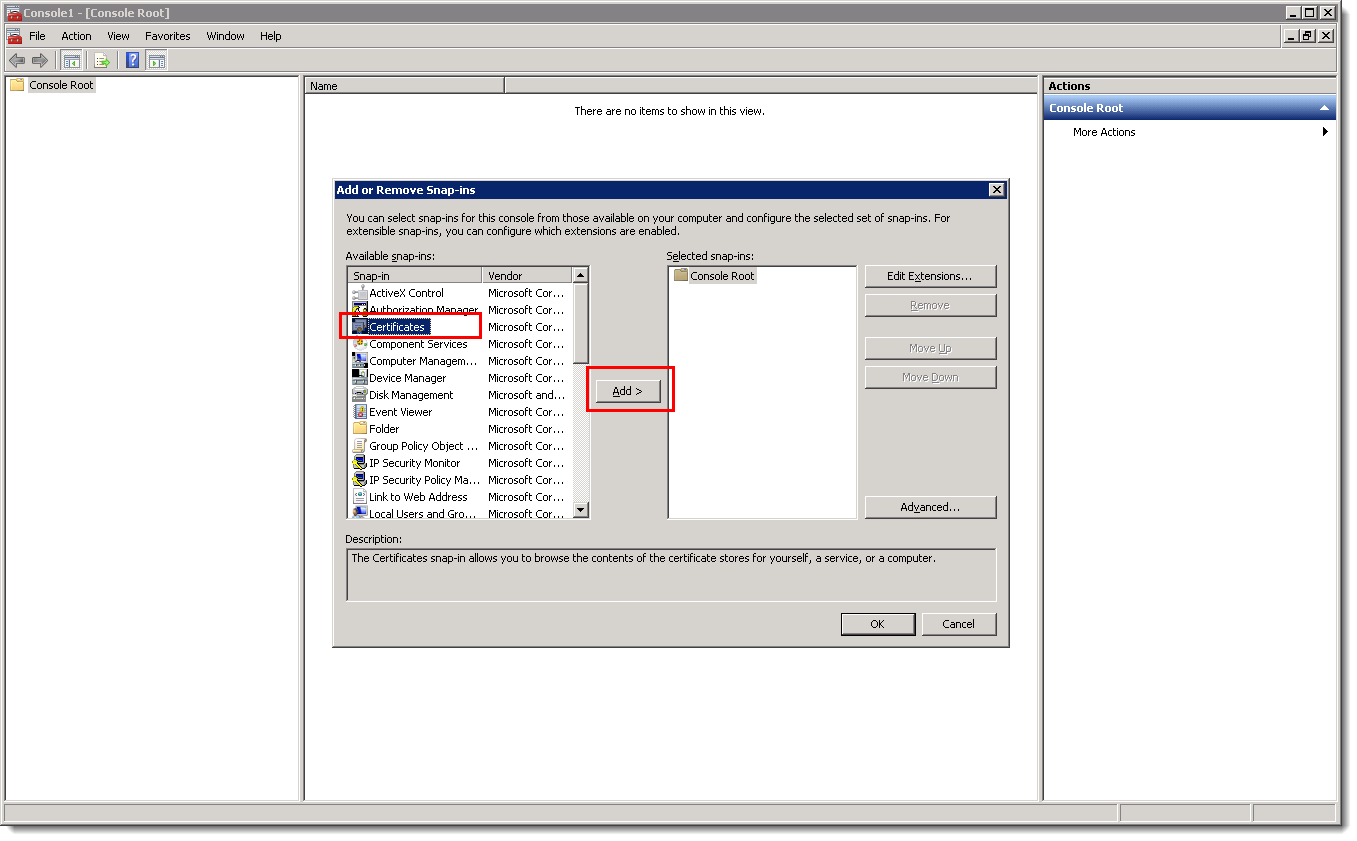
Figure 2-2
Click the image to view larger in new window
- Select Computer account → Next → Local Computer → Finish and then click OK.
- Right-click the Trusted Root Certification Authorities folder and select All Tasks → Import.
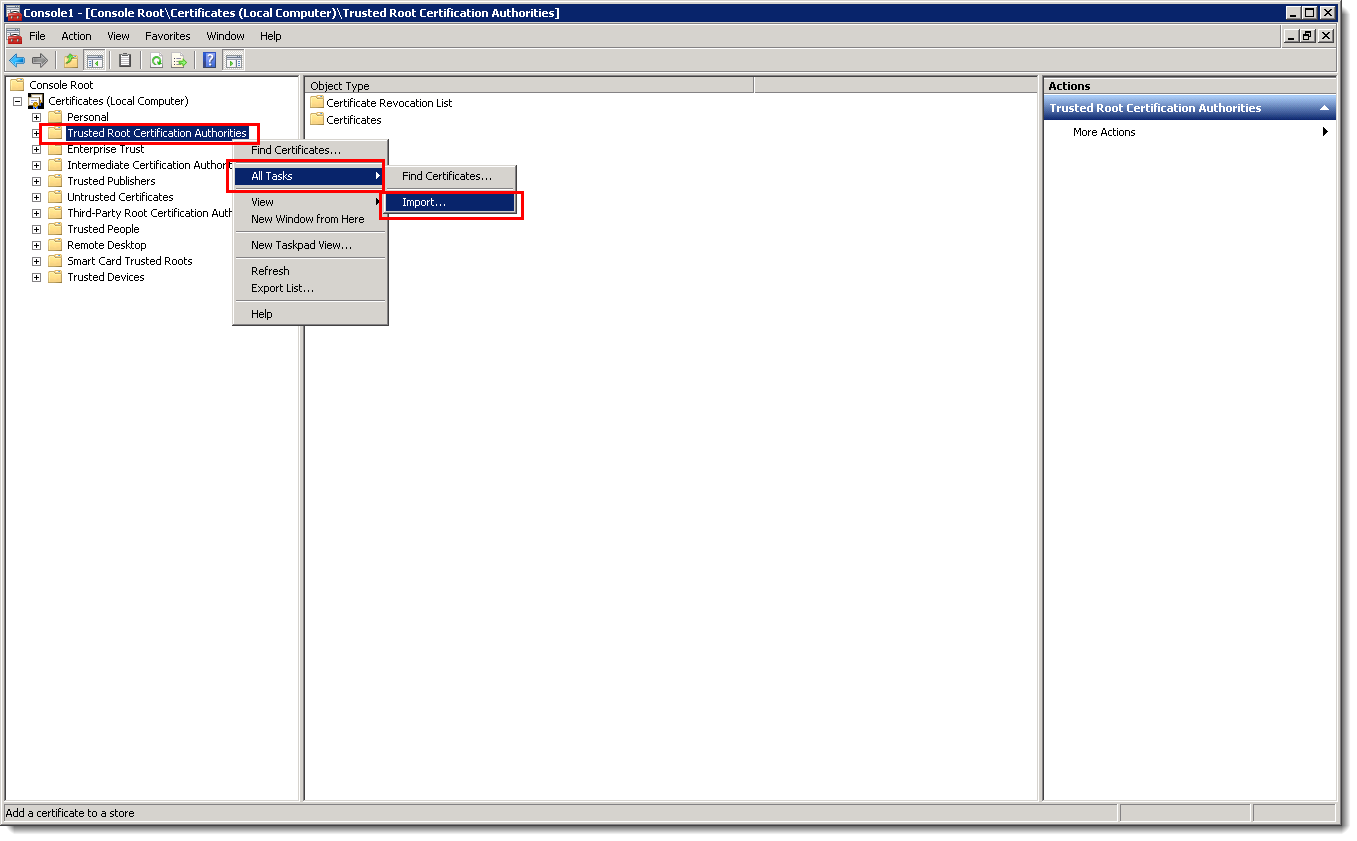
Figure 2-3
Click the image to view larger in new window
- Follow the instructions in the wizard to import the certificate revocation list (.crl file).
- Refresh the mmc view. The certificate revocation list is now stored in Trusted Root Certification Authorities→ Certificate Revocation List.
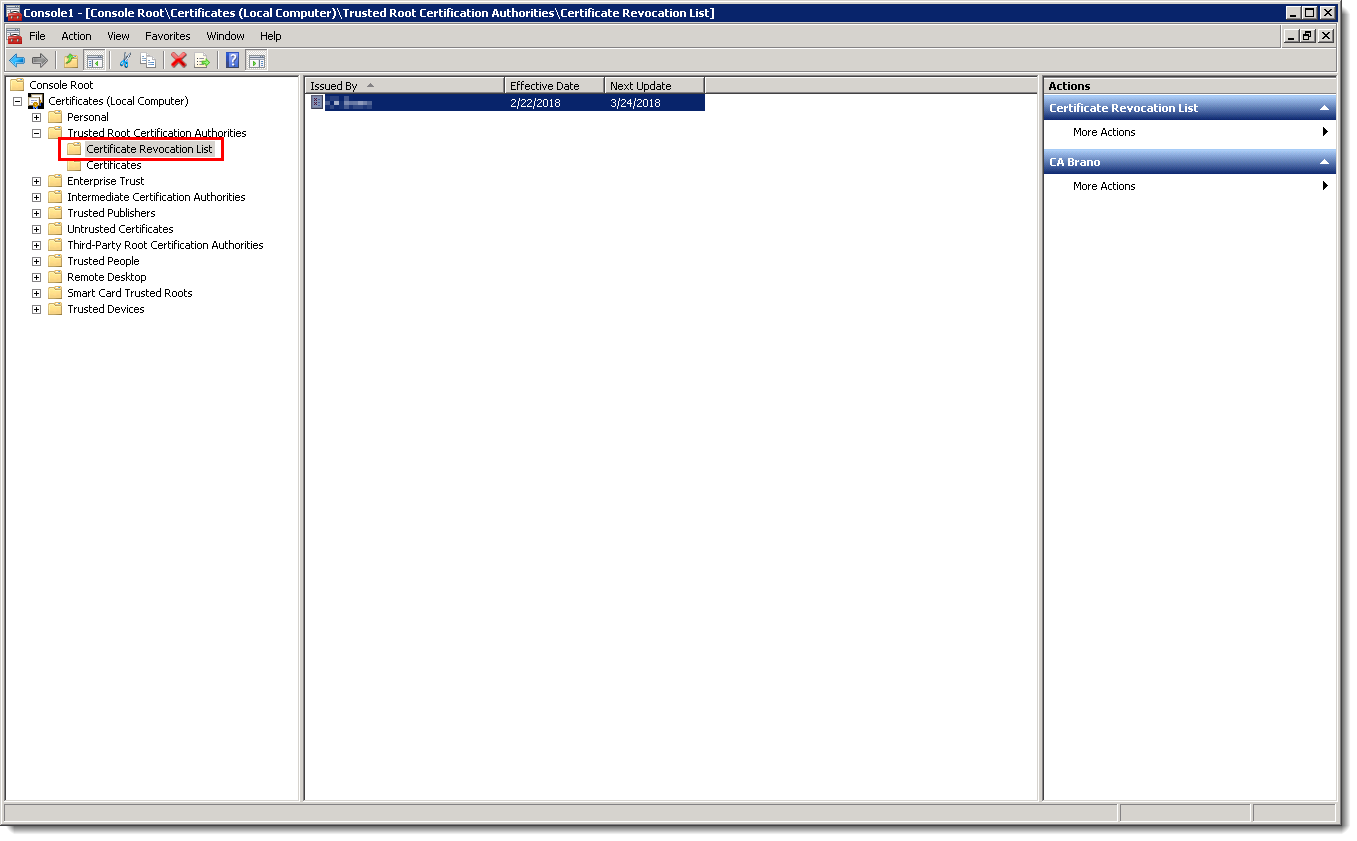
Figure 2-4
Click the image to view larger in new window
- Restart the ESMC Server service. Agent certificate validation will fail and the Agent will no longer connect to ESMC Server.
Reactie toevoegen
Log in of registreer om een reactie te plaatsen.